学弈
棋理
最近和朋友的孩子下了几盘棋,在惊叹现在孩子的聪慧和学习能力之余,也深感自己的“棋艺”着实有待提高。便又拣起荒废已久的弈城账号,想下几盘找找感觉,结果又一次应了那句,“业精于勤,荒于嬉”。失落之余,索性去 B 站,重看邱百瑞老师的带你零基础学围棋.
再看确实有不一样的感受。围棋的奥妙和那些千古流传的棋理自不必多说,我想自己学习下棋,试着了解棋理的原因,也是被围棋这种“方寸之间有天地,黑白之处显乾坤”的魅力所折服。
最近和朋友的孩子下了几盘棋,在惊叹现在孩子的聪慧和学习能力之余,也深感自己的“棋艺”着实有待提高。便又拣起荒废已久的弈城账号,想下几盘找找感觉,结果又一次应了那句,“业精于勤,荒于嬉”。失落之余,索性去 B 站,重看邱百瑞老师的带你零基础学围棋.
再看确实有不一样的感受。围棋的奥妙和那些千古流传的棋理自不必多说,我想自己学习下棋,试着了解棋理的原因,也是被围棋这种“方寸之间有天地,黑白之处显乾坤”的魅力所折服。
Communication is hard, especially with all the different personalities, languages, and
cultures involved in an international community like this.– Faith Ekstrand
It is rules and not our individual smarts that keep us from making mistakes.
– Faith Ekstrand
分别在 Windows 11 上安装 usbipd-win, 在 WSL2 上安装 user space tools for USB/IP
1 | Microsoft Windows [版本 10.0.22621.1702] |
1 | [Thu Jun 15 19:19:44 2023] vhci_hcd vhci_hcd.0: pdev(0) rhport(0) sockfd(3) |
HiKey970 有两个 Type-C 接口,而且当板子被设置为 Recovery 模式时,两个接口均会被识别为“串口”。在左手边的 (J3101) 是用来访问 Debug UART 的,而在 HDMI 和 USB 中间的那个(J1801)是在 Recovery 模式下使用的。而且这两个接口是两个不同厂家提供的芯片,使用完全不同的内核驱动模块
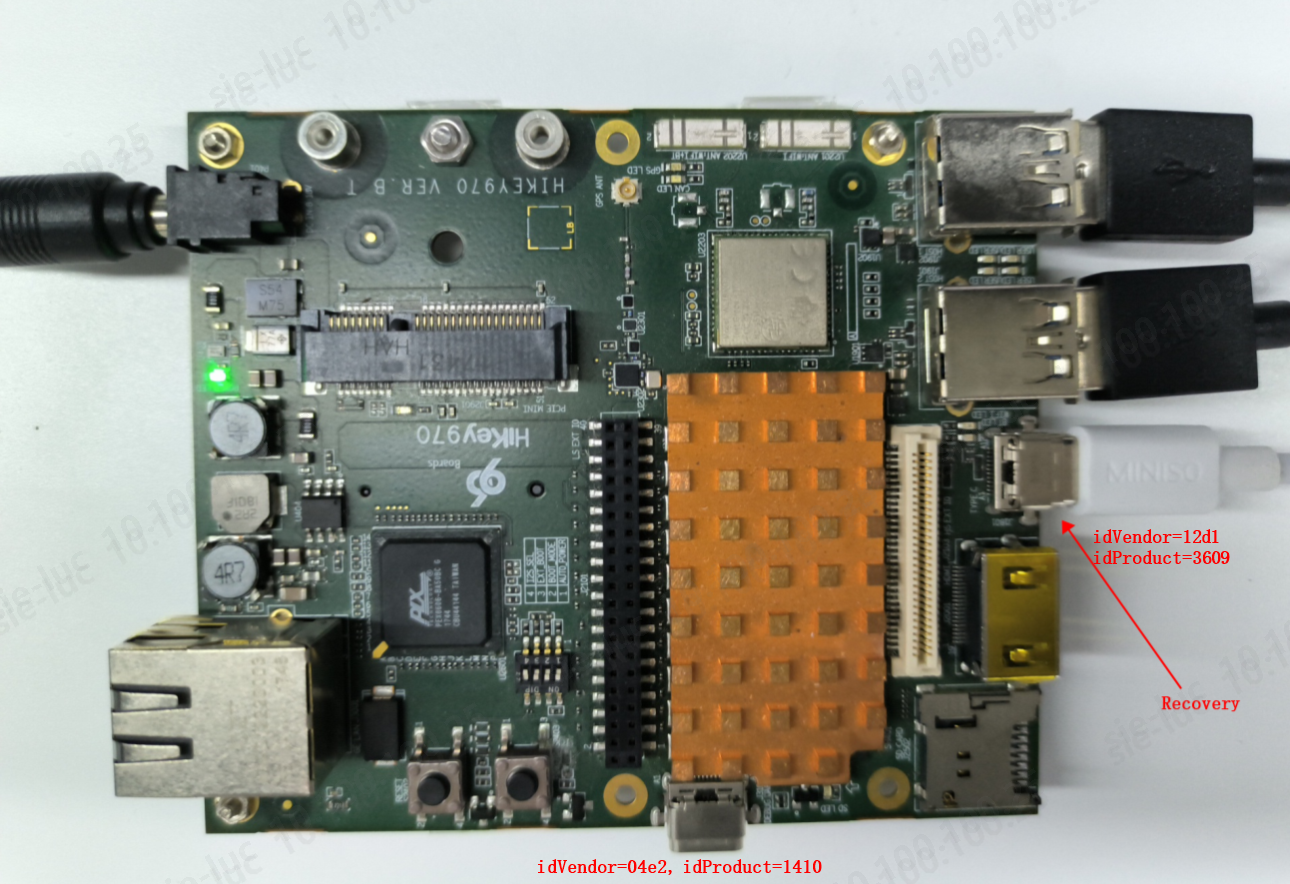
Bus 001 Device 003: ID 04e2:1410 Exar Corp. XR21V1410 USB-UART IC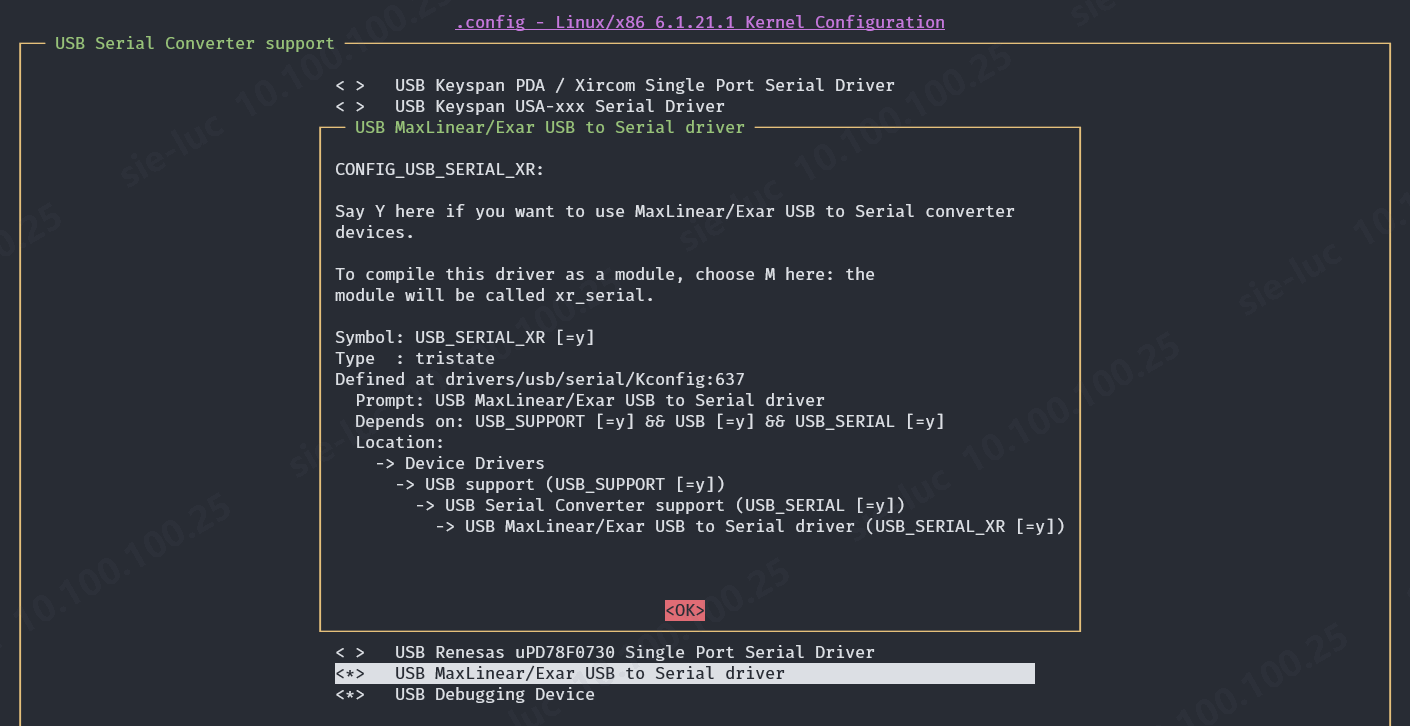
Bus 001 Device 002: ID 12d1:3609 Huawei Technologies Co., Ltd. USB SER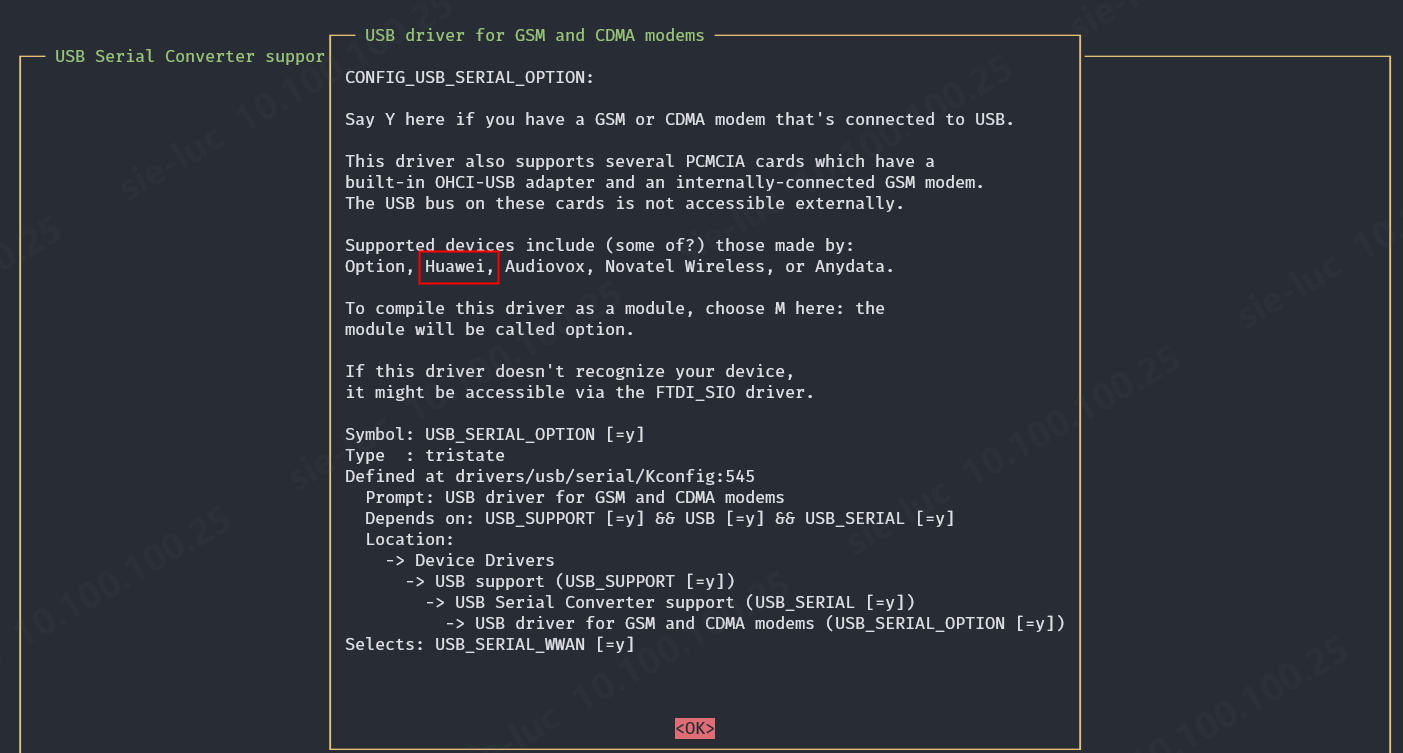
boot.img 主要提供 bootloader, 所以它可以只包含 grub.efi, Hikey970 使用的 boot.img 是 64M 大小
rootfs.img 就是整个系统了(根文件系统),内核可执行文件(Image)和设备树二进制文件(.dtb) 都包含在它的 boot 目录里,Hikey970 使用的 rootfs.img 原始大小是 4.0GB, 但经过 android-tools 工具包里的 img2simg 处理后只有 716M
1 | -rw-r--r-- 1 luc luc 4.0G 11月26日 06:48 rootfs.img |
/usr/sbin/qemu-debootstrap/usr/sbin/debootstrap是两个 Shell 脚本, 主要就是通过下载相应平台的 binaries,通过 chroot 来制作根文件系统
fastboot 是用来从 Host 向开发板烧写固件和镜像的常用工具之一,在 Arch Linux 上它可以通过以下命令安装
1 | yay -S android-sdk-platform-tools |
1 | fastboot getvar all |
1 | fastboot devices |
1 | fastboot flash ptable 64gtoendprm_ptable.img |
1 | fastboot -S 8M flash system rootfs.sparse.img |
1 | ➜ /mnt ls -lh /mnt/EFI/BOOT |
1 | hikey970% ls -lhR /boot |
NOTE:
HiKey970 的输入电压要求在 8V ~ 18V 之间,但最好使用 12V 以上接近 18V的输入电压,否则可能出现fastboot flash时出现板子自己重启的怪现象
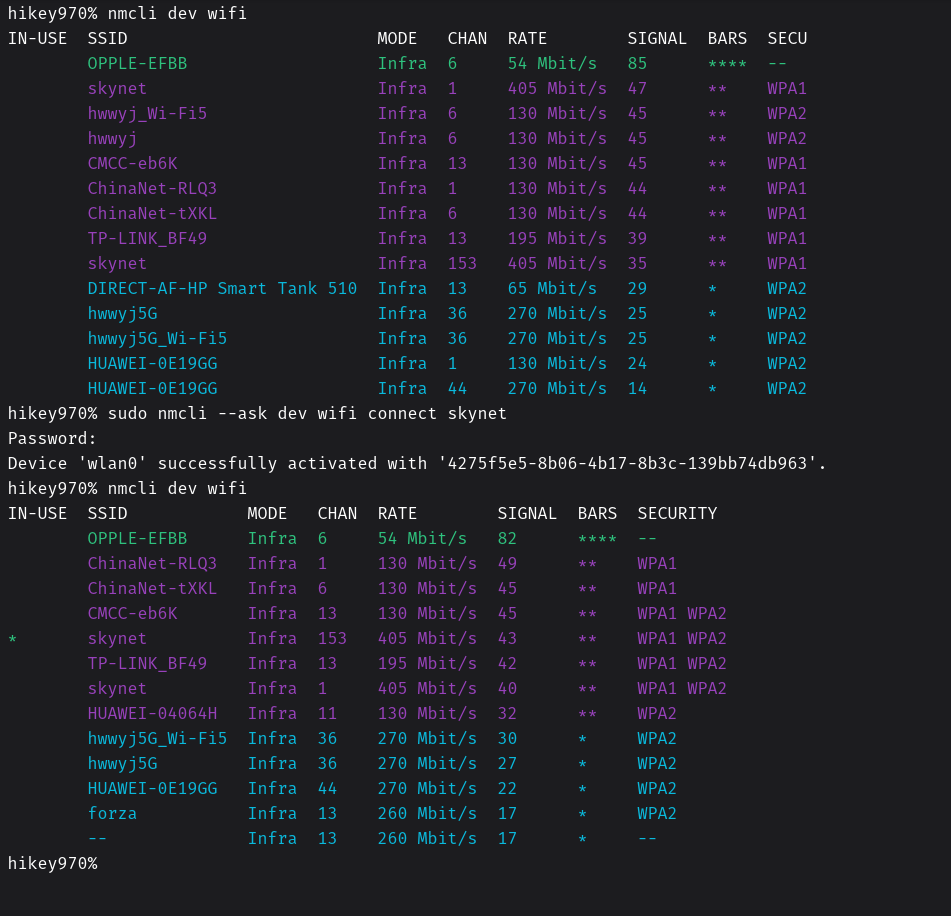
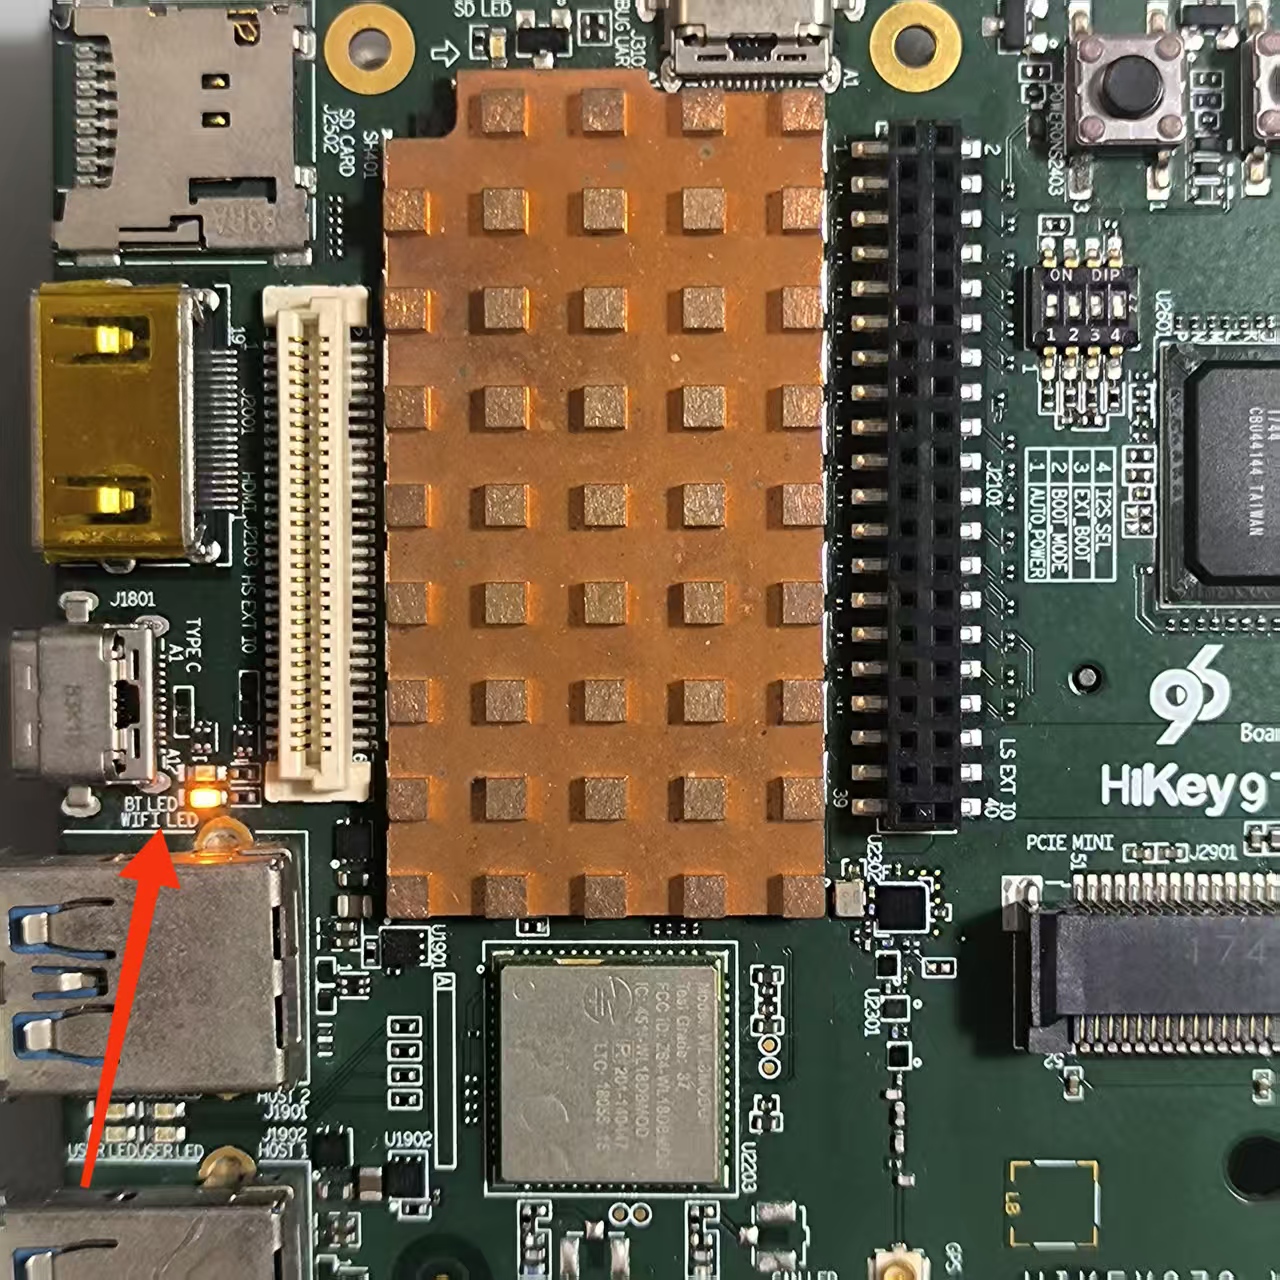
吃灰5,6年的板子又再一次亮了
环境是 qemu-system-aarch64 Debian 13 Trixie, 折腾了一圈,最后还是发现 Ubuntu, Debian, Arch Linux 这3个,还是 Debian 对 Aarch64 支持最好,Ubuntu 甚至还一个桌面版的 Arm 安装镜像都没有(Arm架构的安装镜像似乎都是服务器版的)。

点亮吹灰 Hikey970 用的是 hikey970-ubuntu-image, 它的 rootfs 里安装的是 NetworkManager, 当我试着将 hikey970-ubuntu-image 转换成 hikey970-debian-image 时,发现 debootstrap 会因为奇怪的包依赖问题,无法安装 NetworkManager, 而且了解到 wpasupplicant 可以完成同样的事情(连接 WiFi,让板子联网), 而且体量更小,更适合这种开发板。
所以这个 Debian 12 rootfs 网络这块使用了 wpasupplicant, iw, iproute2, dhcpcd5 四剑客
1 | [Unit] |
Note:
systemctl enable wpa_supplicant@wlan0.service 时 systemd 会自动创建一个符号链接文件到 /etc/systemd/system/wpa_supplicant@.service, 而文件里的 %i 是无线网络设备接口名,即 wlan0./etc/wpa_supplicant/wpa_supplicant.conf 1 | wpa_passphrase <SSID> <PASSWORD> >/etc/wpa_supplicant/wpa_supplicant.conf |
1 | iw dev wlan0 scan | grep 'SSID:' |
1 | ip link show wlan0 |
1 | systemctl enable dhcpcd.service |
1 | /sbin/ntpdate ntp.aliyun.com |
1 | ``` |
Pathor(Written in C) 和 Tyr(Written in Rust) 都只用于 Valhall 以上的 Mali GPUs. HiKey 970 (HI3670 SoC) 搭载的是 Mali G72 MP12 (Bifrost),所以只能使用 Panfrost 驱动。上面可以启动的内核是 v4.19, 当时的 GPU 驱动还是 lima.
HiKey 970 开发板对应的 devicetree 源文件 hi3670-hikey970.dts, 在 v4.19 时也合入了主线。
commit 5510ee99c0deb0c0235acee6498a6745c8317df1
Refs: v4.19-rc1-6-g5510ee99c0de
Author: Manivannan Sadhasivam mani@kernel.org
AuthorDate: Fri Aug 10 23:23:39 2018 +0530
Commit: Wei Xu xuwei5@hisilicon.com
CommitDate: Wed Sep 19 16:15:25 2018 +0100arm64: dts: Add devicetree support for HiKey970 board Add devicetree support for HiKey970 development board which based on Hi3670 SoC and is also one of the 96Boards Consumer Edition and AI platform. Only UART6 is enabled which is the default console required by the 96Boards Consumer Edition Specification. This patch has been tested on HiKey970 Board. Signed-off-by: Manivannan Sadhasivam <manivannan.sadhasivam@linaro.org> Signed-off-by: Wei Xu <xuwei5@hisilicon.com>
arch/arm64/boot/dts/hisilicon/hi3670-hikey970.dts | 35 +++++++++++++++++++++++++++++++++++
1 file changed, 35 insertions(+)
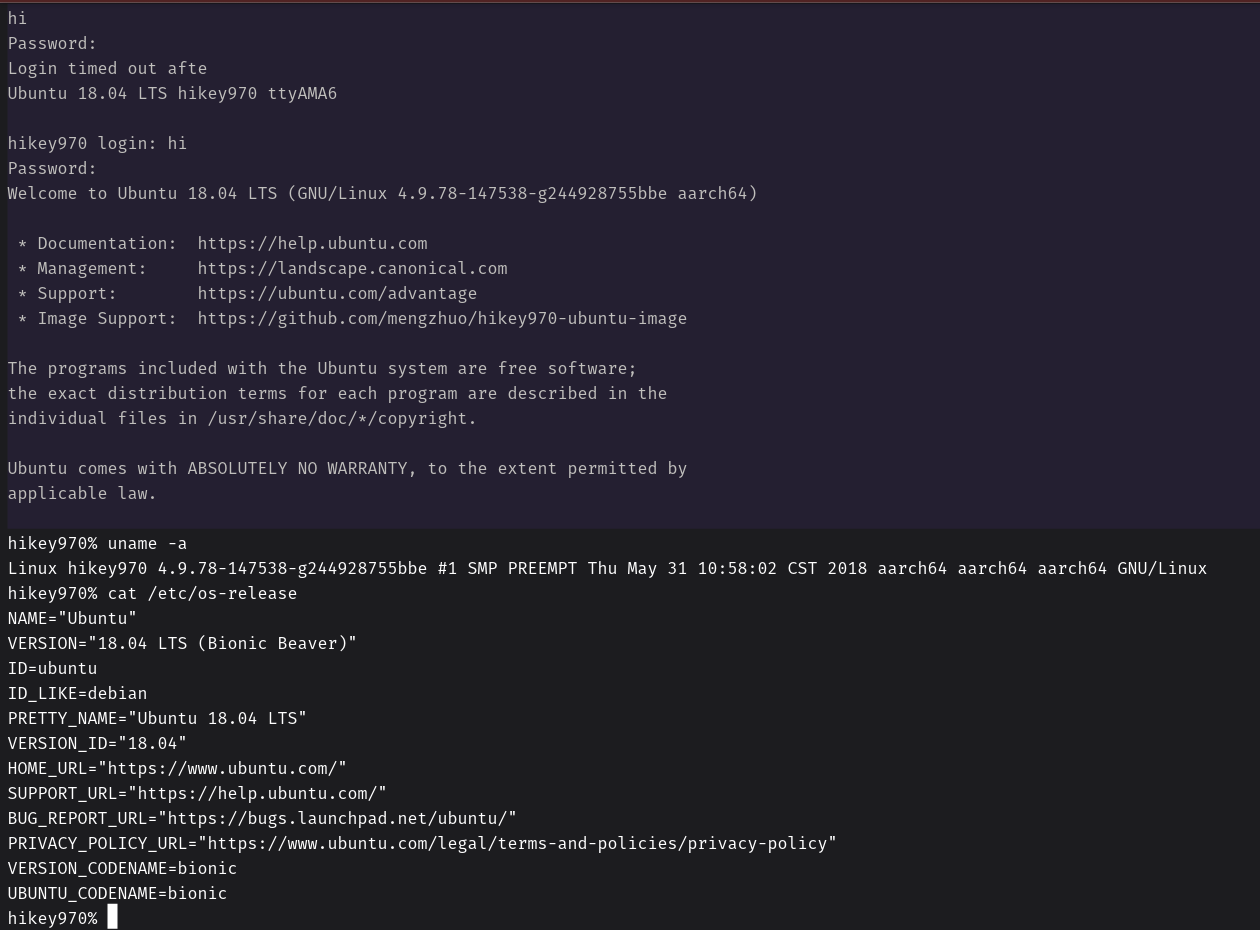
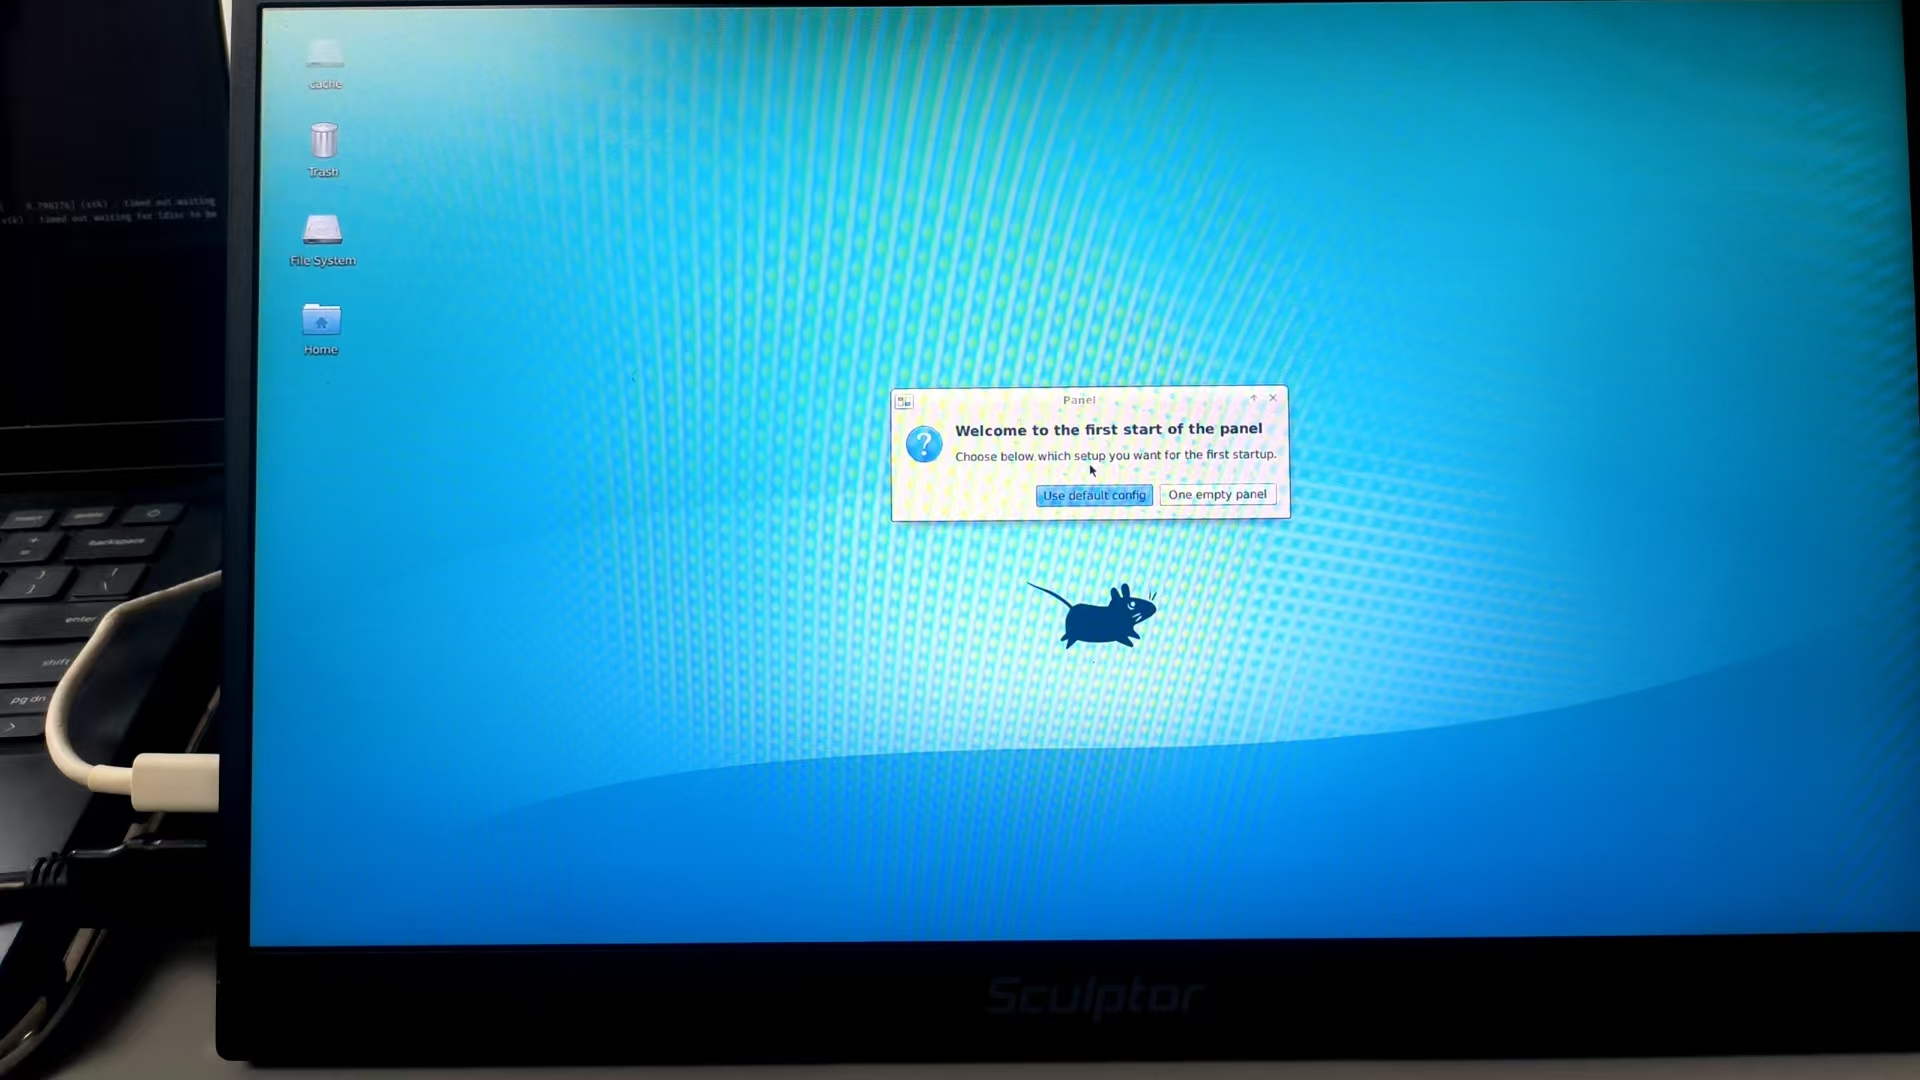
到目前为止,使用 @mengzhuo/hikey970-ubuntu-image 可以正常启动 HiKey970,而且安装了 Xfce,所以我 fork 了这个仓库,将其更名为 hikey970-debian-image,将基于 Ubuntu bionic (18.04 LTS) 的 rootfs.img 移植到基于 Debian bookworm (12) 的 rootfs.img,并成功启动。之后准备将这块 2018 年 3 月发布的板子作为学习和测试内核最新驱动的平台,所以现在就看看主线编译的设备树 (arch/arm64/boot/dts/hisilicon/hi3670-hikey970.dtb) 和内核 (arch/arm64/boot/Image.gz) 是否能正常启动。
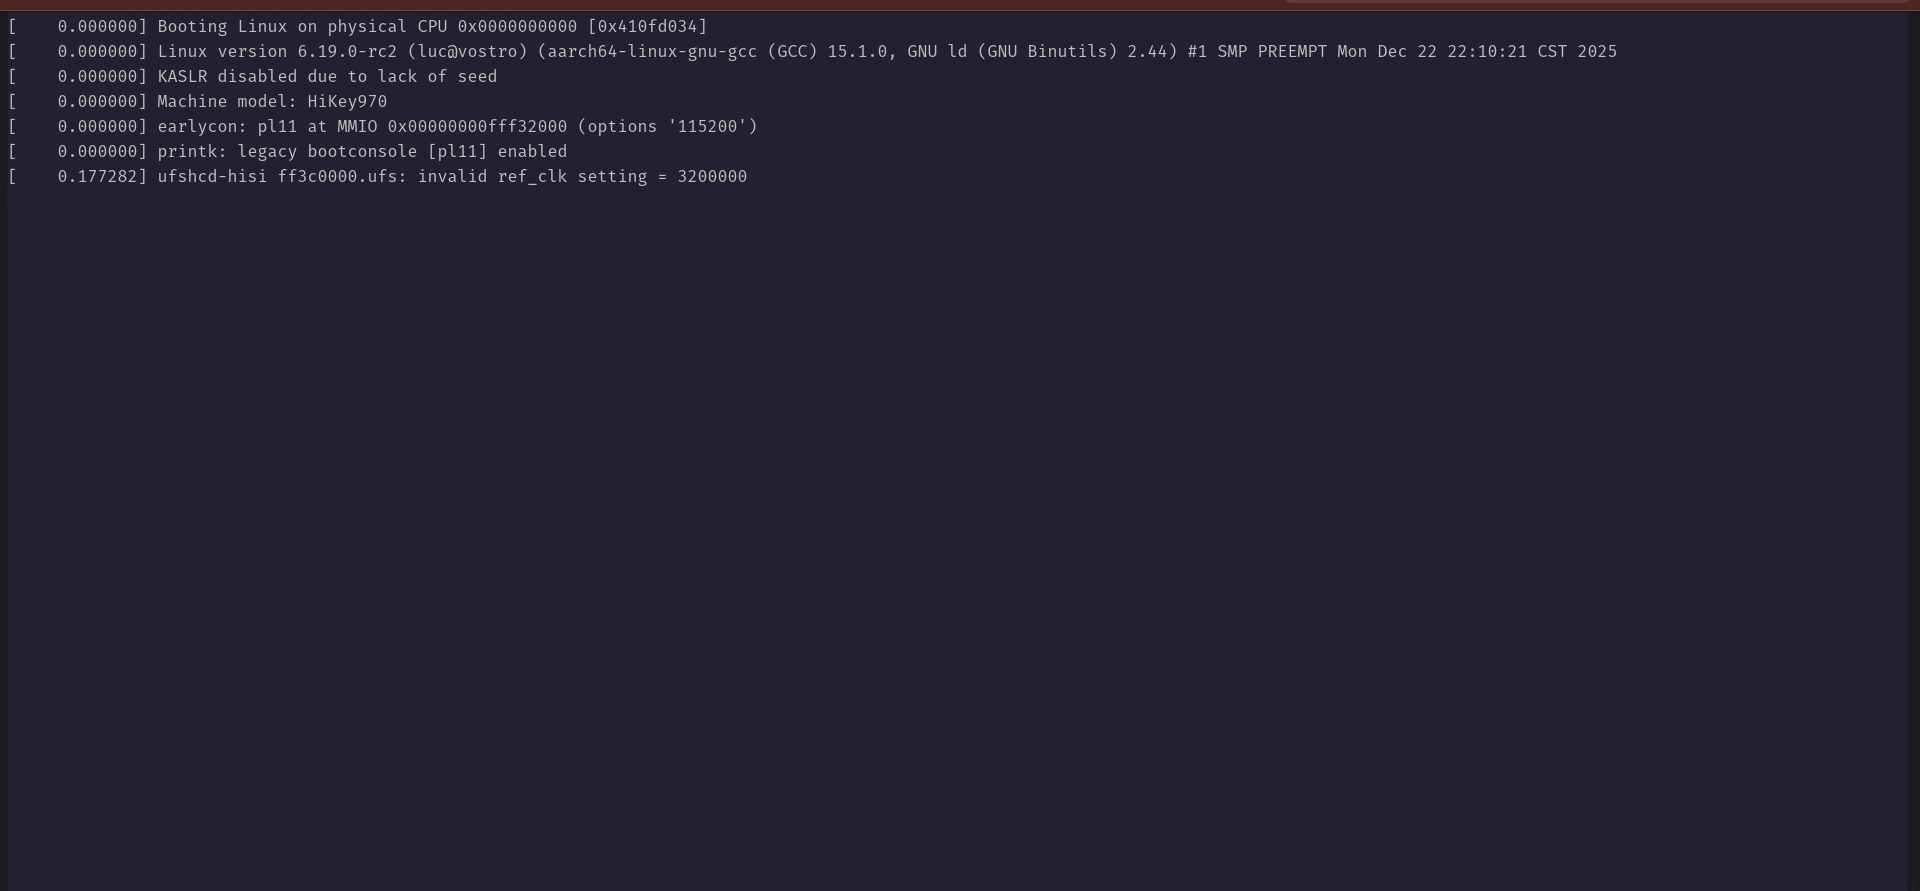

random: crng init done took 70 minutes1 | [ 5.201987] random: perl: uninitialized urandom read (4 bytes read) |
crng init 花这么长时间的原因是系统 entropy sources 不足,内核一直在填充 entropy pool, 这种情况只发生在刷写系统后第一次启动,之后 entropy pool 应该固化在 UFS 存储里了,启动时间就正常了。但因为需要频繁刷写系统,所以还是得解决这个问题。尝试了 rng-tools5 和 haveged 后,发现 haveged 可以解决这个问题。理论上 rng-tools5/rng-tools 也可以借助 /dev/hwrng 解决这个问题,但不知为何 rngd 服务始终不能正常工作,怀疑可能是 Hi3670 SoC 的 TRNG 驱动有问题。
现象:系统启动后 lsblk 看不到 /dev/mmcblk0
使用原来的 hikey970-ubuntu-image (@mengzhuo) 镜像,SD 卡是正常识别的,这就说明电源和卡本身没有问题(之前因为使用 12V 的电源, fastboot flash 总是失败的教训很深刻🐶)。
将下来主要排查设备树和内核配置的问题,在这里和 ChatGPT/DeepSeek 交流了很多,总体感觉 ChatGPT 在这方面比 DeepSeek 靠谱一点。了解到了 HI3670 SoC 的 MMC 控制器使用的是 Synopsis DesignWare MMC, 它是一种不遵循 SD Host Controller Interface 规范的厂家自定义接口。
SD 卡启动有两个主要问题:
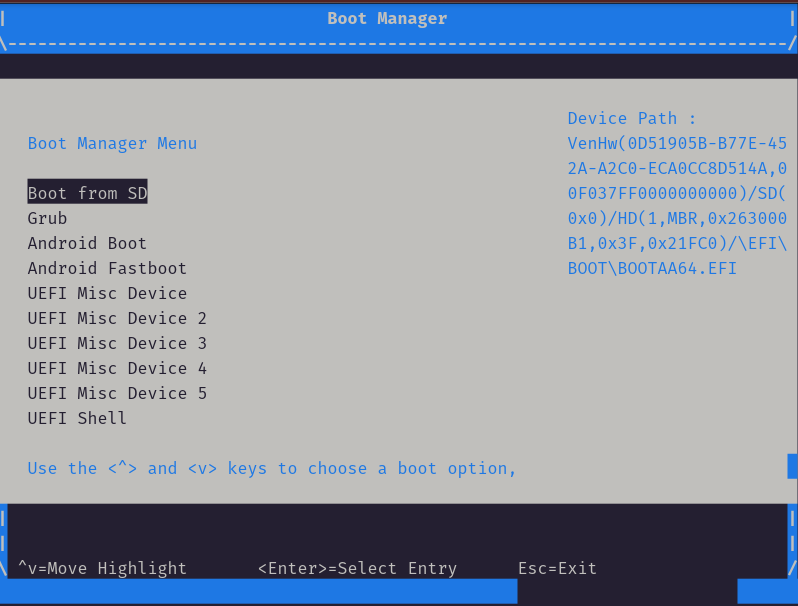
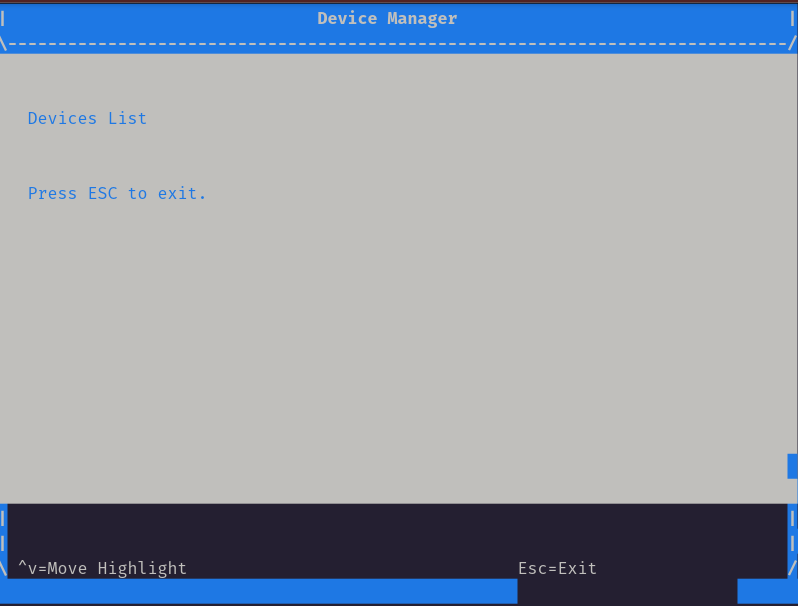
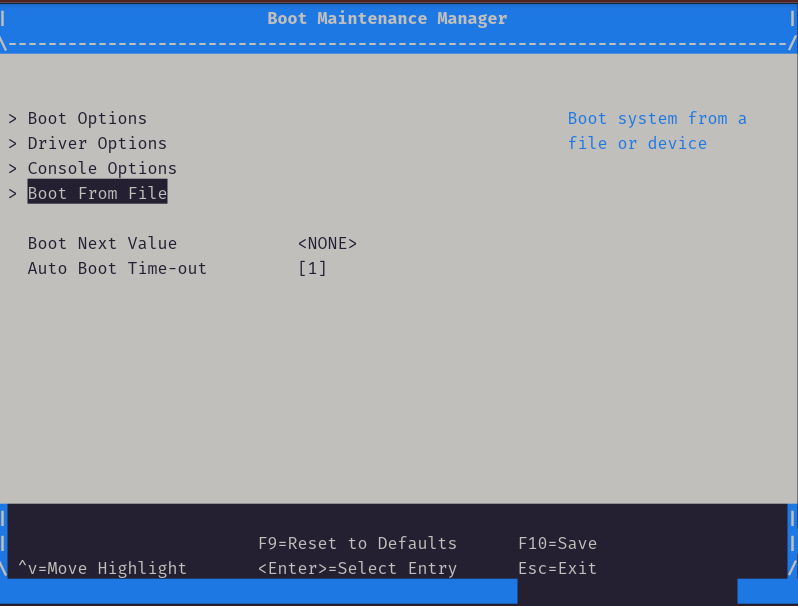
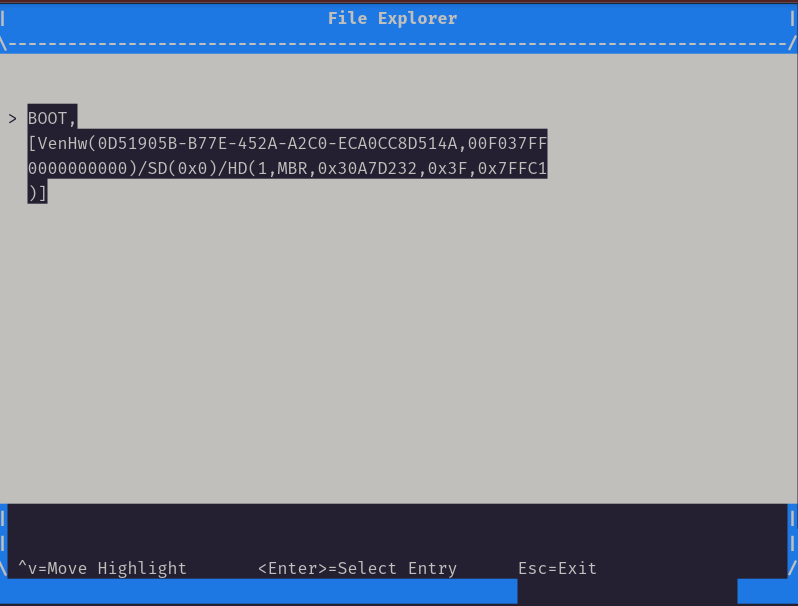

系统调用是 Linux 用户态程序与内核通信的接口。 每个特定的文件系统都会在自己的 file_operations 里提供各种文件操作接口,像 .open, .close, .ioctl。系统调用会通过 VFS 的接口调用这些具体的实现,而对于应用程序来说,一般不会直接使用系统调用,而是调用 C 库函数 (C routines).
ioctl 这个系统调用的声明大概是这样:
1 | COMPAT_SYSCALL_DEFINE3(ioctl, unsigned int, fd, unsigned int, cmd, compat_ulong_t, arg) |
ioctl 的 C 库函数 (Aarch64 实现):
1 | .text |
| Distro | Ubuntu | Arch Linux |
|---|---|---|
| source | git://git.launchpad.net/~ubuntu-kernel/ubuntu/+source/linux/+git/jammy | git@github.com:archlinux/linux.git |
| initrd | sudo mkinitramfs -o /boot/initrd.img-KERNELVERSION KERNELVERSION |
sudo mkinitcpio --generate /boot/initramfs-KERNELVERSION.img --kernel KERNELVERSION |
| grub | sudo update-grub |
sudo grub-mkconfig -o /boot/grub/grub.cfg |
KERNELVERSION 是 make kernelrelease 的输出,同时也是 sudo make modules_install 时在 /lib/modules 创建的目录名Gamma LUT (Look-Up Table) is a property that is used to correct the color and brightness of an image or video. Gamma LUT is basically a table of values that is used to map input values to output values, for example, it may map low input values to higher output values to brighten the image.
Gamma LUT is used to adjust the gamma curve of an image or video, which means it can be used to correct the brightness and contrast of an image. This property is commonly used in image and video processing applications, such as photo editing software, video editing software, and color grading tools.
Gamma LUT can also be used to correct color shifts caused by different lighting conditions or camera settings. By adjusting the gamma curve of an image or video, it is possible to create a more natural and accurate representation of the original scene.